 Printwear & Promotion The Total Promotional Package
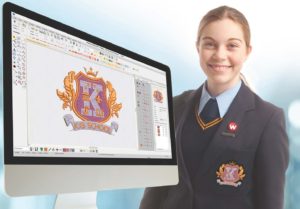 Embroidering school badges is remarkably similar to creating commercially designed freestanding badge emblems and are no different from small run patches. Follow these simple tips provided by digitising expert Erich Campbell to create high quality badges every time.
- Crest designs are layered with tightly packed detail covering the full design. Leave room in the lower layers for the upper elements to avoid the badge becoming overly stiff and dense.
- Remove or reduce detail. Enlarge and add spacing between small elements making designs easier to read. This avoids excess density and thread breaks due to overly small or packed stitching.
- Avoid trapping puckers in fabric by starting from the center and working towards the outside of your design.
- Stitch the central design before outer satin borders to avoid badges tearing out of fragile water-soluble or removable films used to create the smooth, freestanding edges.
- Greatly reduce run-time by ordering pre-made badges from emblem contractors. Use digitising software to create a pre-placement guide stitch and a tack-down or edge-covering border, then attach them with your embroidery machine.
- Top quality embroidery software is essential. Do your research and run tests on your machine.
No matter your method, you can make badges a profitable part of your embroidery product lineup.